Extend Outlook 2013, 2010, 2007 with Delphi forms.
Components for contact, task, appointment forms.
|
Add-in Express™ Extensions Delphi components for Outlook regionsAdvanced Outlook regions is an extension for Add-in Express for Office and Delphi VCL developed specially to modify Outlook mail, task, contact, calendar and other items by adding custom Delphi forms to Microsoft Outlook Explorer and Inspector windows. It is based on a new extensible plug-in architecture implemented by Add-in Express. Advanced Regions support all Outlook versions starting from the most recent Outlook 2013 down to 2000. Please see an overview of the main features and capabilities of Advanced Outlook view and forms regions and how to customize Outlook bar, Navigation and Reading pane with Delphi forms.The Advanced Regions are integrated with the add-in modules and adds their own wizards, components and modules to the add-in projects, namely:
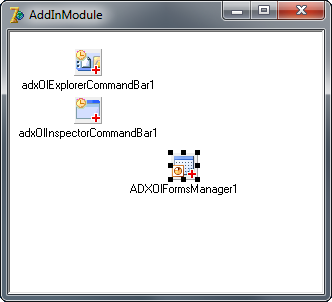
A new component - adxOlFormsManagerThe Advanced Outlook regions adds a new component to the Add-in Express tab in the Component Palette:
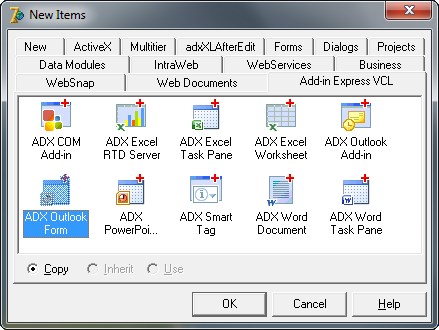
Adding a special form to your Delphi projectThe Advanced Outlook regions adds the ADX Outlook Form wizard to the "New Items" dialog box (File | New | Other...). This wizard adds a new form module (a descendant of TadxOlForm) and includes it in the add-in project. The TadxOlForm class is a special TForm descendant that can be embedded into Outlook Explorer and Outlook Inspector windows.
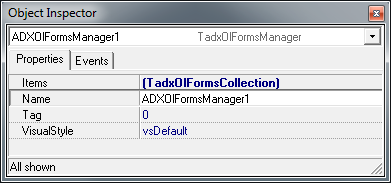
Outlook Forms ManagerAll logic is concentrated in a special component, the Outlook Forms Manager (TadxOlFormsManager), added from the "Add-in Express" component palette. This component centralizes and controls all Delphi forms to be embedded into Outlook folder views and Inspector forms. The Outlook Forms Manager includes the Items collection, and each item of this collection binds a custom form class (TadxOlForm) to the corresponding Outlook folder or / and form window (inspector window).
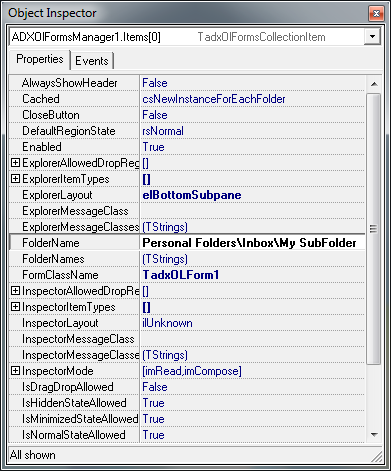
Binding custom Delphi forms to Outlook foldersThe Items collection of the Outlook Forms Manager binds your Delphi form classes (TadxOlForm) to Outlook folders and / or Outlook forms. To bind your Delphi form to a folder you create a new item of the Items collection, add the form's unit to the Uses clause of the Add-in Module, select the class of the form class in the FormClassName property. To add a custom form to Outlook folders you specify one or all of the following properties: FolderName, FolderNames and ExplorerItemTypes. With a combination of these properties you can make your custom Outlook form show up only in the folders you need. I.e., if you specify ContactItem in the ExplorerItemTypes property and 'Personal Folders\Inbox' in the FolderName property, your form will show up for all contact folders AND the Inbox folder. Don't forget to specify the ExplorerLayout property.
Binding custom Delphi forms to Outlook form windowsTo bind your Delphi form (TadxOlForm) to an Outlook folder, you create a new item of the Items collection (or use the existing one), add the form's unit to the Uses clause of the Add-in Module, select the form class name in the FormClassName property and specify the InspectorLayout property. You can also use the InspectorItemTypes (mail, appointment, contact, task etc.), InspectorMessageClass (IPM.Note, IPM.Contact, IPM.Task etc.) and InspectorMessageClasses properties. Using a combination of these properties you can get your form to show up in the Outlook forms you need. I.e., if you specify 'IPM.Note.MyNote' and 'IPM.Note.MyNote2' in the InspectorMessageClasses property and Contact in the InspectorItemTypes property, your form will show up for two custom mail forms and for all (standard and custom) contact forms. |


