Add ribbon tabs to SharePoint pages, Visual Web-Part,
UserControl or ApplicationPage: C#, VB.NET
|
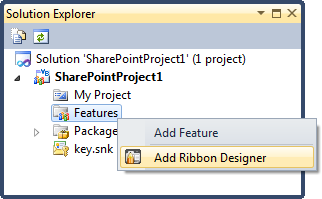
Ribbon Designer Integrating Ribbon Designer with existing SharePoint solutionsThe Ribbon Designer easily integrates with your SharePoint 2010 and 2013 projects whether you develop for on-premise or Office 365. You use it as a SharePoint feature to create a central point for the Ribbon UI related logic of your project. You can use the Ribbon Designer to add custom ribbon tabs and controls to SharePoint pages, lists, document libraries and forms. You can also enable the Ribbon UI for a Visual Web Part, User Control or Application Page items. Either way, you get the designer surface, server-side components and the JavaScript client object model at your disposal. With the designer, you get a most sophisticated Ribbon UI created in minutes. With the object model, you control all aspects of how your Ribbon looks and how it works. Step 1. Add Ribbon Designer to your projectThe Ribbon Designer fully supports farm and sandboxed solutions and is added to either project in a uniform way. Farm or sandboxed solution: add a featureFor a farm or sandboxed solution you add a Ribbon Designer feature.
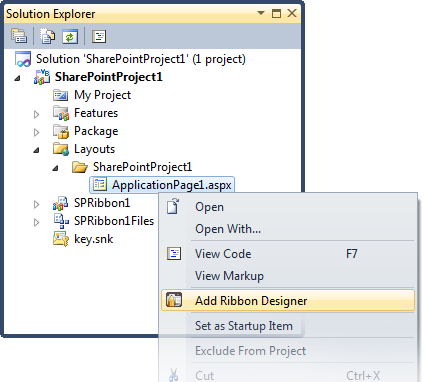
Ribbon Designer on an application page, user control or visual web partFor a farm solution only, you can add the Ribbon Designer onto an application page, user control or visual web part.
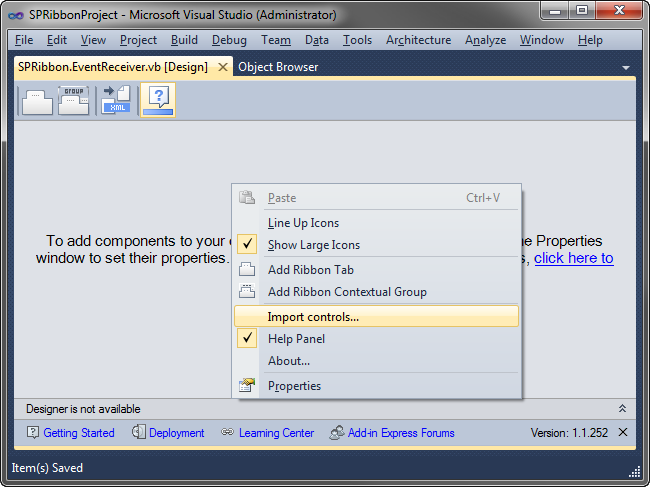
Step 2. Import existing Ribbon XML (optional)If you have an XML file describing the Server Ribbon markup, you can import it.
This creates a set of Ribbon components representing the Ribbon UI of your SharePoint project.
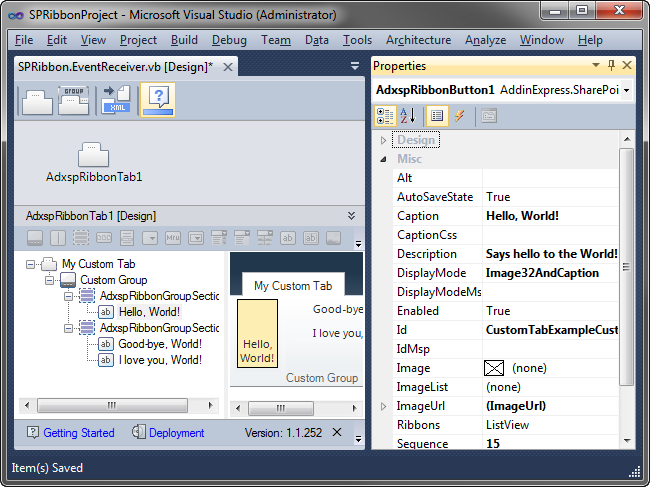
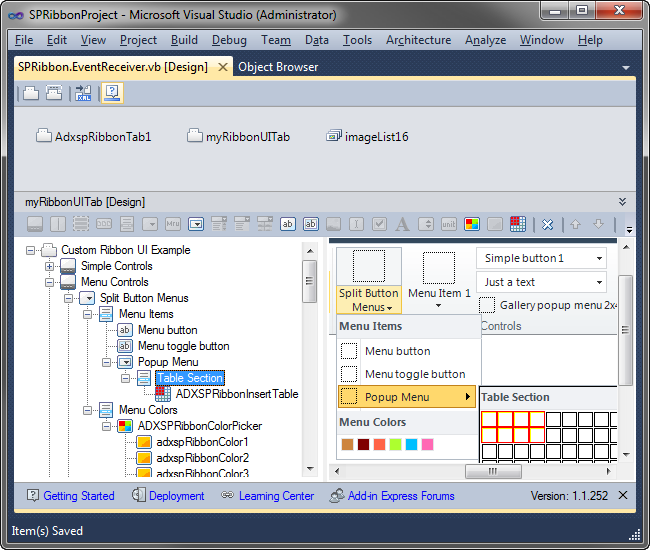
Step 3. Improve the Ribbon UI of your SharePoint solutionWith the Ribbon Designer you create any sleek user interface in minutes. The screenshot below demonstrates a Ribbon tab with all possible control types supported by the Server Ribbon Schema such as Button, CheckBox, ComboBox, DropDown, Menu, etc.
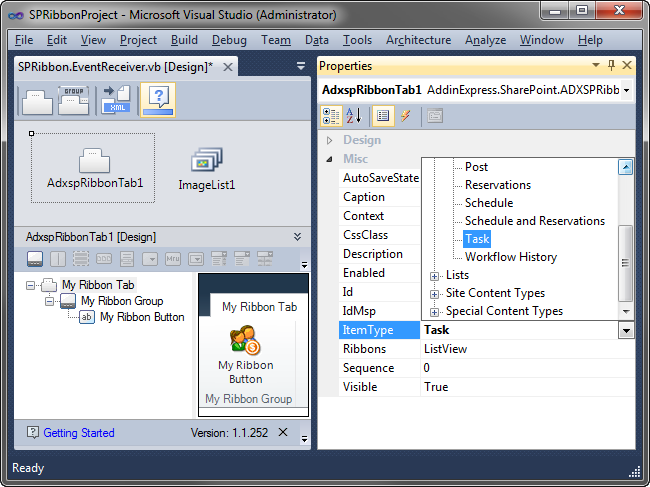
Step 4. Specify the context and position for your Ribbon controlsTo specify the context in which your controls will be displayed, use the ItemType property of the ADXSPRibbonTab component.
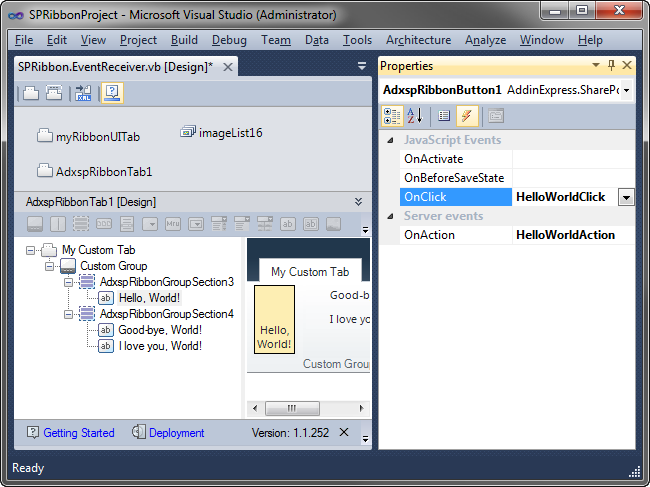
You can further refine the context using the Ribbons and Context properties of the ADXSPRibbonTab component. Also, you can position your control on a built-in Ribbon tab and show contextual tabs. Step 5. Handle events of the SharePoint Ribbon controlsThe Ribbon components provide a coherent set of server and client-side events allowing handling almost any aspect of using Ribbon controls in SharePoint 2010, 2013 and SharePoint Online solutions.
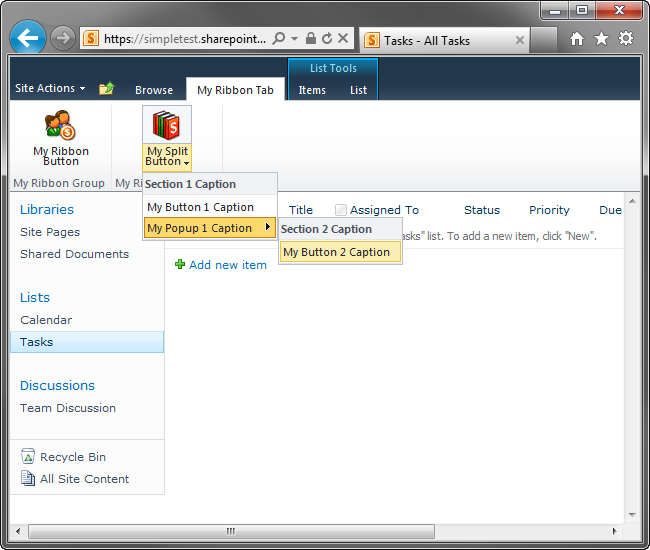
Step 6. Add dynamicity to the SharePoint Ribbon UIThe flexibility of the client and server object models of the Ribbon components allows creating advanced UI solutions really easily. And this is what the above code produces:
Step 7. Deploy your SharePoint solutionWhether you deploy your solution to an on-premise or cloud-based SharePoint site such as the Office 365 site, you need to deploy only one assembly. No extra steps are required. |
